Why are my shasta daisy leaves turning yellow? Common causes and solutions
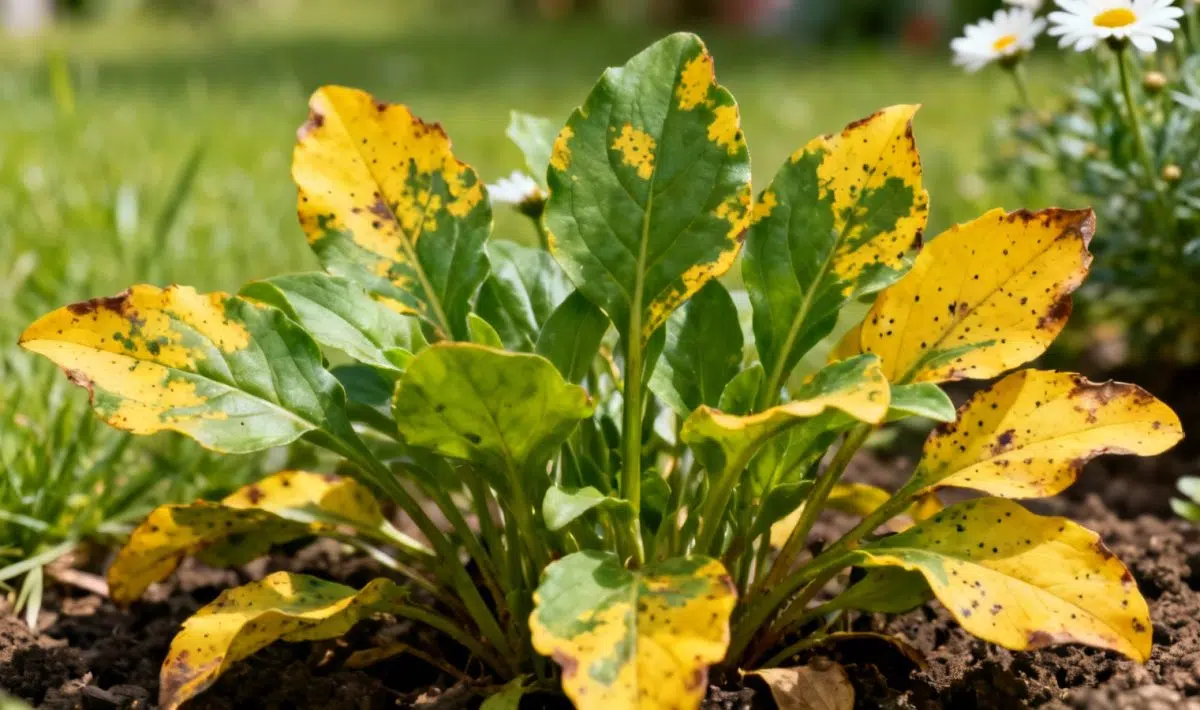
If you’ve noticed your beautiful shasta daisies developing yellow leaves, you’re not alone in this gardening concern. These cheerful white flowers with sunny centers can experience leaf yellowing for several reasons, and the good news is that most causes are completely fixable. Understanding what’s happening to your plants will help you get them back to their vibrant, healthy state so you can enjoy those gorgeous blooms all summer long.
Yellow leaves on your shasta daisies usually signal that something in their environment needs attention. The most frequent culprits include watering issues, nutrient deficiencies, and poor soil conditions. These hardy perennials are generally easy to grow, but like all plants, they have specific needs that must be met for optimal health.
Overwatering and drainage problems
One of the biggest mistakes gardeners make with shasta daisies is giving them too much water. These plants prefer soil that drains well and can actually tolerate some drought better than constantly wet conditions. When roots sit in waterlogged soil, they can’t absorb oxygen properly, leading to root rot and yellowing leaves from the bottom up.
Check your soil by sticking your finger about two inches deep. If it feels soggy or stays wet for days after watering, you’ve got a drainage problem. Good drainage is essential – your daisies will be much happier with soil that dries out slightly between waterings.
✅ Quick Checklist
Is the soil too wet or too dry?
Is the plant getting 6+ hours of sunlight daily?
Have you fertilized in the last 2 months?
Are there visible pests under the leaves?
Does the pot have adequate drainage?
🔥 FREE
📱
Diagnose your plant in one click!
AI instant diagnosis • Personalized solutions • 50,000+ species
Yellow leaves can also indicate that your shasta daisies aren’t getting the nutrients they need to thrive. Nitrogen deficiency is particularly common and shows up as yellowing that starts with older, lower leaves and gradually moves upward. Without enough nitrogen, plants can’t produce the chlorophyll that keeps leaves green and healthy.
Poor soil quality or soil that’s been depleted over time often lacks essential nutrients. If you haven’t fertilized your daisies in the spring or early summer, this could be the root of your problem. A balanced, slow-release fertilizer applied in early spring will give your plants the nutrition they need for the entire growing season.
How to identify and fix soil problems
Testing your soil is one of the best investments you can make in your garden’s health. A simple soil test kit from your local garden center will tell you the pH level and nutrient content of your soil. Shasta daisies prefer slightly alkaline soil with a pH between 6.0 and 8.0, and they need good organic matter to thrive.
If your soil test reveals problems, don’t worry – soil can be improved relatively easily. For heavy clay soil that doesn’t drain well, work in compost or coarse sand to improve drainage. For sandy soil that drains too quickly, add compost or well-aged manure to help it retain moisture and nutrients.
Improving drainage for healthier daisies
Creating proper drainage doesn’t have to be complicated or expensive. If you’re growing your daisies in containers, make sure the pots have drainage holes and use a good quality potting mix. For garden beds, you can create raised areas or add organic matter to improve soil structure.
Many gardeners find success by creating a simple drainage layer. Dig down about 12 inches, add a layer of coarse gravel or broken pottery pieces, then backfill with improved soil. This gives excess water somewhere to go without drowning your daisy roots.
Common diseases and pests affecting shasta daisies
Sometimes yellow leaves indicate disease or pest problems rather than cultural issues. Fungal diseases like leaf spot or crown rot can cause yellowing, especially in humid conditions or when plants are overcrowded. These problems often develop when air circulation is poor and leaves stay wet for extended periods.
Aphids and spider mites can also cause leaf yellowing by sucking plant juices. Check the undersides of yellow leaves for tiny insects or fine webbing. Similar to reasons for yellow leaves on snake plants, pest damage often starts subtly but can quickly spread if not addressed. Early detection and treatment are key to preventing serious damage.
Natural pest control methods
For minor pest problems, a strong spray of water from your garden hose can dislodge aphids and spider mites. Insecticidal soap is another gentle but effective option that won’t harm beneficial insects. Apply it in the evening when temperatures are cooler to avoid leaf burn.
Encouraging beneficial insects in your garden is a long-term strategy that really pays off. Ladybugs, lacewings, and predatory mites all feed on the pests that damage your daisies. Plant diverse flowers nearby to attract these helpful creatures and avoid using broad-spectrum pesticides that kill good bugs along with the bad ones.
✅ Quick Checklist
Is the soil too wet or too dry?
Is the plant getting 6+ hours of sunlight daily?
Have you fertilized in the last 2 months?
Are there visible pests under the leaves?
Does the pot have adequate drainage?
🔥 FREE
📱
Diagnose your plant in one click!
AI instant diagnosis • Personalized solutions • 50,000+ species
The best approach to yellow leaves is preventing them in the first place. Proper placement in your garden makes a huge difference – shasta daisies need at least six hours of direct sunlight daily to stay healthy and produce lots of blooms. They also appreciate good air circulation, so don’t crowd them too close to other plants.
Regular maintenance keeps your daisies in top condition throughout the growing season. Deadhead spent flowers to encourage more blooms, and divide clumps every three to four years to prevent overcrowding. Just like common causes of yellow oregano leaves, many plant problems stem from basic care issues that are easily prevented with consistent attention.
Seasonal care for long-term health
Spring is the perfect time to set your daisies up for success. Apply a balanced fertilizer as new growth appears, and add a layer of compost around the base of established plants. This feeds the soil slowly throughout the season and helps retain moisture without creating waterlogged conditions.
In fall, resist the urge to cut back your daisies too early. The foliage continues to photosynthesize and send energy to the roots even after flowering stops. Wait until the first hard frost, then cut stems back to about four inches above ground level. A light mulch helps protect roots through winter without encouraging rot.
With proper care and attention to their basic needs, your shasta daisies will reward you with healthy green foliage and abundant white blooms from spring through fall. Remember that yellow leaves are usually just a sign that something needs adjusting – not a reason to panic or give up on these wonderful, easy-care perennials.
Allan is a lifelong gardening enthusiast who still gets excited when the first seedlings pop up in spring. With a deep love for nature and a hands-in-the-soil approach, he shares practical tips, plant discoveries, and clever tricks picked up over years of digging, planting, and observing. Whether you’re a new gardener or have a shed full of tools, Allan writes like a neighbor who’s always happy to swap cuttings and stories over the fence.
You can find more about Allan’s work on Malt or connect with him on LinkedIn.